Home grown foods are tasty, and some have very pretty flowers too – like these purple bean flowers. This is the first year I’ve grown these and now I harvest more than half-a-kilo of delicious fresh purple beans every two days!

Home grown foods are tasty, and some have very pretty flowers too – like these purple bean flowers. This is the first year I’ve grown these and now I harvest more than half-a-kilo of delicious fresh purple beans every two days!
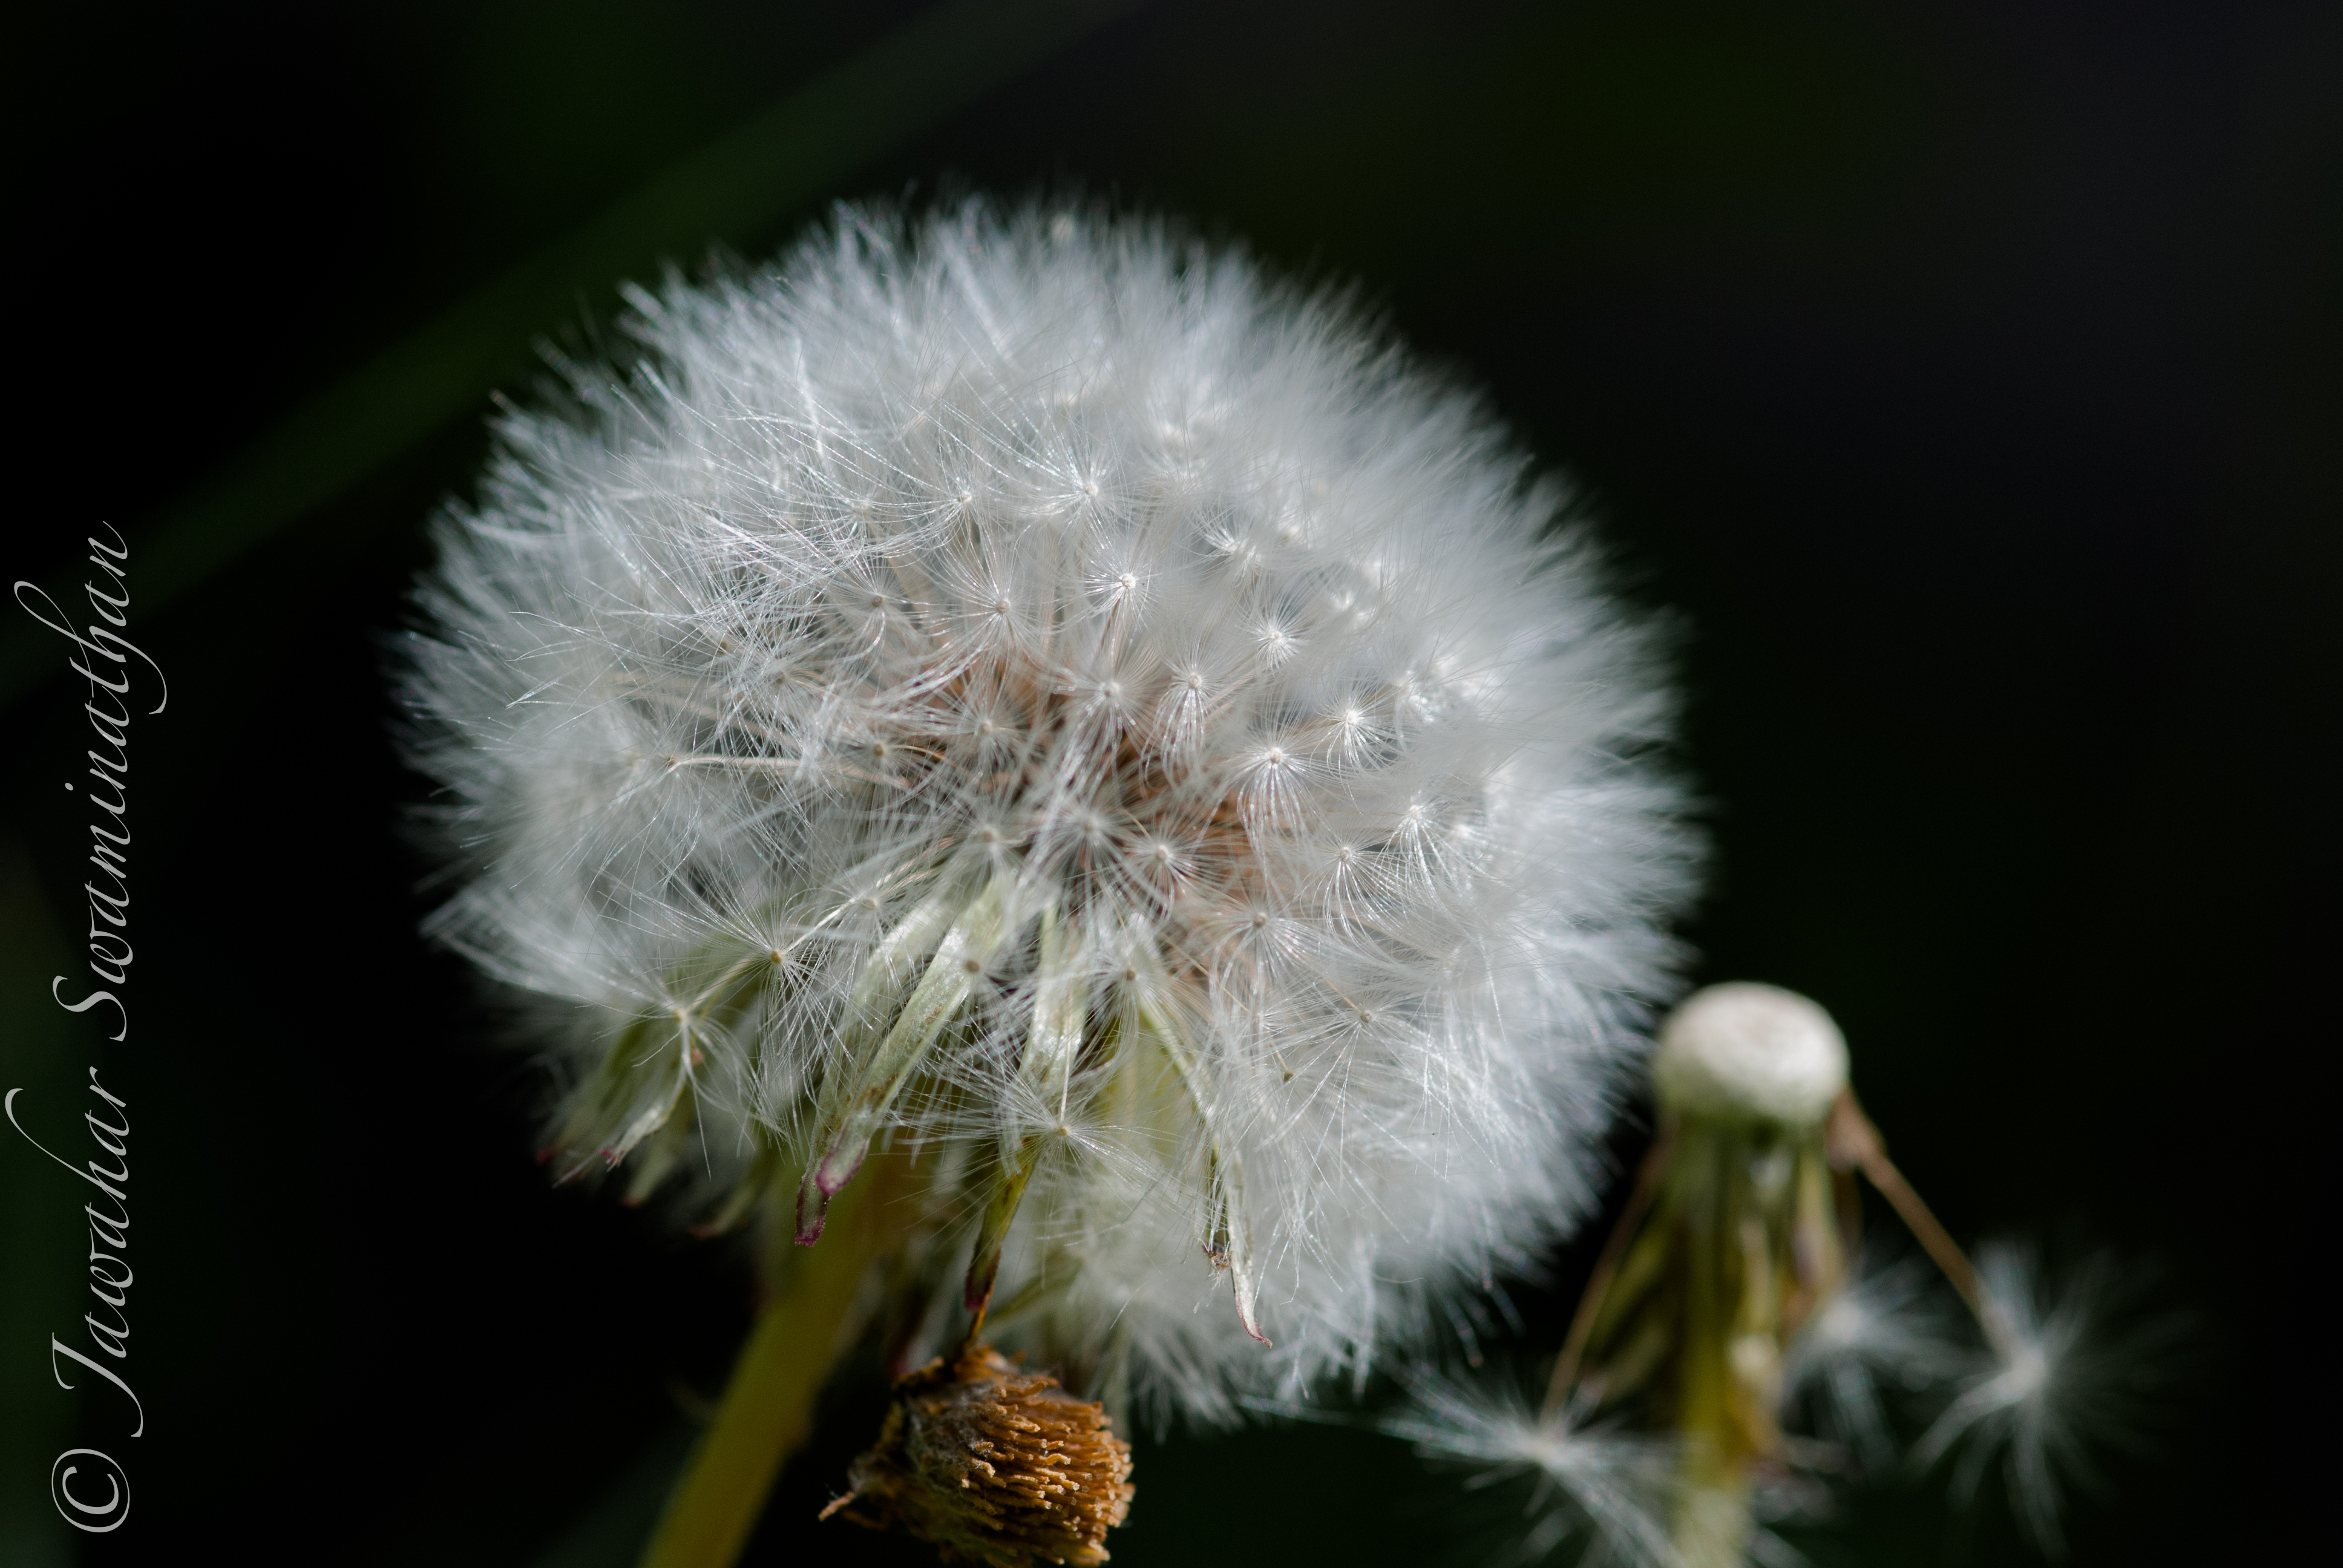
Mention Dandelion to any gardener who loves their lawns and they will tell you a few stories about how difficult these plants are to get rid of, and how pernicious these weeds can be. Dandelions belong to the Taraxacum genus of the family Asteraceae and found in most of Europe and North America. They tend to have leaves that are flat and close to the ground and produce bright yellow flowers throughout late spring and summer. Whilst the flowers tend to brighten up any wasteland, they also grow happily between grass in lawns. Due to their low habit, they avoid being cut down by standard lawn mowers. Every plant produces a beautiful spherical head of winged seeds that easily disperse in the wind (see below).
The recent series of television (Masterchef: The Professionals) had a cook James Burton using Dandelion roots in cooking! Till that time I’d no idea that these plants were edible, so used as I was to zap them with weed killer on first sight. Reading up a little more on these plants, it turns out that the dandelion leaves are an excellent source of iron and calcium (more than spinach)!
So the next time I see these growing in my garden (which I’m sure I will), I’ll be reaching out for a recipe book and not my glyphosate containing weed killer!
My previous two posts on the same subject commented on the germination, and growth of calabash and other indian vegetables in the UK. Unfortunately for us here in the United Kingdom, this was the wettest summer in the last 100 years. With lack of sunshine and lots of rain, many of the experiments I had planned to conduct on the efficacy of growing traditional indian vegetable came to nothing.
However, it was not all doom and gloom, and I’ve actually managed to harvest a few calabash (lauki, dudhi) this year (see picture below). The plants are now well over 10 feet long and have many young fruits on them (sadly, I think the winter will catch up and kill them before they get a chance to mature).

I have also had limited success with indian green aubergines (but not spectacularly).
Take-home lessons for 2013
At the end of the year, these are the lessons I’ve learned.
You may wish to read the previous blogs on the same subject:
My last post in March on this subject dealt with the sowing and germination of often sought after indian vegetables that are difficult to grow under the temperate and wet conditions of the United Kingdom. This growing season has been one of the worst in the UK, with record rainfall and plummeting temperatures. As a result, the seedlings have had a long stay in the germinator and pots in a makeshift greenhouse. Ideally, the plants should have been out in their final positions by the beginning of May, but due to inclement conditions, they were only put outside in the beginning of June this year.
Lauki (Calabash) – The young plants have all survived the first growing phase, and were planted into plastic containers, with supporting stakes to give support to the delicate stems of the plant. Once the plants reached about a foot tall, they were trained on a trellis to enable their tendrils to twine around the support. The plants are in a sheltered place in full sun to maximise their chances of growth. The potting medium was one part topsoil, 2/3rds well-rotted compost and 1/3 grit to give good drainage.
Unfortunately, none of the ridged gourd (Turai) or bitter gourd plants made it to this stage, and died due to damping off disease brought upon by the unseasonal spring/summer this year. I have planted new seedlings using the methods described before.

The calabash plants are now flowering profusely. As with all members of the Cucurbitaceae family, the flowers are either male or female. In most members of this family of plants, that include courgettes, pumpkins, cucumbers etc, male flowers are the first to emerge and can be easily identified by their absence of a fruit-like growth at the base of the flower. The female flowers appear a little later.

The female flowers are easily identifiable by the presence of a fruit at their base (as in the picture below).

These plants also branch extensively so it is a good idea to have a trellis or netting that allows for side shoots to grab and grow.
Now it is just an issue of wait and watch while the plant grows taller and hopefully produces decent sized gourd for consumption.
Additional Reading:
There is a charm in growing ones own vegetables and fruits, not to mention the exceeding good taste and unparalleled freshness that comes from being able to go from plant to plate relatively quickly. Indian vegetables are invariably difficult to find here in the United Kingdom, and being imported from far away places, tend to be expensive. The following article describes my attempts at growing Indian vegetables from seeds and any successes/failures and experiences gained from this exercise.
As Indian vegetables such as Calabash (Lauki or Dudhi), Ridged Gourd (Turai) and Bitter Gourd (Karela) are essentially summer vegetables in India, they benefit from extended growth periods and hotter than usual climes if grown in the United Kingdom. It therefore, helps to start growing these seeds in late-February or early March indoors.
Requirements
Seeds: I was lucky to be able to get good quality seeds of Calabash, Ridged Gourd and Bitter Gourd from Mahyco in India. These seeds are also available from specialist sellers in the UK. I have previously used seeds from market purchased vegetables and germinated them successfully, so that is also an option.
Propagator: In order to give seeds a good chance of germinating early, an electrically heated germinator is essential. I purchased mine from Amazon. (Link).

Seed Compost: Purchased from B&Q
Vermiculite: To improve water retention and drainage, Purchased from B&Q
Preparation (Late February 2012)
The propagating trays were prepared by mixing in equal amounts of well sieved compost and crushed vermiculite to form a light mixture. The mixture was pressed down to form a uniform firm layer, with about 1.5cm space at the top of the trays. The trays were then watered gently with a rose sprinkler till totally wet and the compost-vermiculite mixture allowed to settle.
Sowing (Late February 2012)
6 Calabash, 7 Ridged Gourd and 6 Bitter Gourd seeds were sown in two trays at a depth equal to that of the seeds. In all cases, the seeds were placed in a horizontal position, about 2 cm apart. The seeds were then covered with compost. The propagator was turned on to generate higher temperatures, and placed in a place with lots of natural light (window-sill) but no direct sunlight.
Germination
1st week of March, 2012

Lauki/Calabash: The first seedlings germinated within 3 days of sowing. All 6 seeds had germinated by end of the week.
Ridged Gourd: First seedlings emerged in 4 days. All 7 seeds germinated by end of the week.
Bitter Gourd: No germination after one week of sowing. It has been mentioned elsewhere the bitter gourd seedlings benefit from an overnight soaking in warm water to soften the seed coat. This is something I need to try next to see if it improves germination rates and/or speeds for this plant.
Aubergine: I had also sprinkled some aubergine seeds on the surface of the compost in some available space on the tray. Most seedlings of aubergine had also germinated in the space of one week.
2nd week of March, 2012
The Lauki (Calabash) and Turai (Seedlings) were about 3 inches tall and beginning to grow their first true leaves. Aubergine seedlings were about one inch long and still only had cotyledons and no true leaves.
Bitter Gourd: Two of 6 seedlings germinated in the second week (one pictured above). Once germinated, the rate of growth was very fast and by about 6 days post germination, they were about 2 inches tall and developing their first set of true leaves.
3rd week of March, 2012

The Lauki and Turai seedlings were ready to be moved into small pots at this stage. They were gently pricked from the propagator tray and placed into 7.5cm coir pots. These pots have the advantage that roots can grow right through the pots as the plant grow, and the whole pot can be planted into the ground or grow-bag when the plants are ready to be placed in their final positions. The coir pots were filled with a 70:30 mixture of compost and vermiculite and watered till the pot was damp.

In order to continue the growth of the seedlings and as it is still quite cold in the nights out here in Cambridge, the plants were all placed into ziplock bags. This helps in maintaining a greenhouse-like feel for the young plants and allows them to grow whilst still waiting to be transplanted outside in their final positions. With the bags it is also possible to allow the plants aeration by opening the top of the bags as and when necessary.
But what of the aubergine seedlings previously mentioned? Well, they’re growing nicely in the propagator trays and should be ready to be moved out into pots in the next week or so. The exercise of growing these usually difficult to grow plants has been successful but I’ll keep updating progress on how these do in the coming days. At some point of time, the plants will be moved outside to harden off and acclimatize before going in the ground.
4th week of March, 2012
Update: The plants (Lauki/Dudhi/Calabash, Ridged Gourd/Turi) were moved out into a temporary greenhouse at the beginning of the week to acclimatize, while still inside the zip-lock bags. They have now all grown to about 6 inches tall and have between 3-5 leaves each. The roots have begun to poke their way through the coir pots. In the late evenings, before sunset, I take them out carefully from the bags to expose them to light, but not direct sunlight. They go back into their bags before dusk.

I lost a few aubergine seedlings due to ‘Damping off Disease”. Read more in this informative article here.
The weather continues to improve and with temperatures expected to reach 20C this weekend, I think the plants will all be in their final positions by the beginning of April.
1st week of April, 2012
Update: All plants continue to grow well in the greenhouse in their small pots. Unfortunately, the danger of frost has not yet passed so they are not in their final positions yet.

